Hello sewists! Sorry for the hold up in posts – lent my camera to a friend for the weekend and just got it back. But now it’s time to get back to business by learning to use a new notion in your projects: sewing with elastic.
Sewing with elastic is a great skill to learn, and learning how to sew with elastic can be the first step in moving from beginner projects to more personalized crafts and garments. As mentioned in this earlier post, there are two ways to add elastic to your project. You can either insert it into a casing or sew it directly to your fabric.
In this post, we’ll cover the easier of the two: sewing an elastic casing.
I’m going to demonstrate by making a small bag with an elastic opening.
The first thing I did was to measure out a rectangular shape – about 14″ x 6 1/2″. That way my bag would be roughly 6″ x 6″ when completed. I only cut one piece of fabric to fold in half to use as the bag, but you can also cut two identical pieces to stitch together. The folded version is just easier!
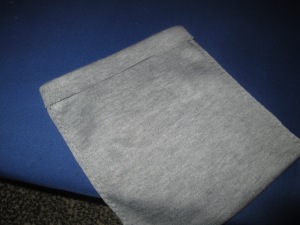
Here is my cut out piece of fabric that will become a small bag! Next it’s time to fold it in half as I mentioned before.
If you’re using a fabric with a right side and a wrong side, fold right sides together. The fabric I’m using does not have a district wrong side, so it’s a little hard to tell in these pictures. But when you do this fold, the wrong side should be on the outside.
Press the fold in place so that all raw edges are even, including the sides and the opening. The fold will be the bottom of the bag. Next we will stitch the side seams.
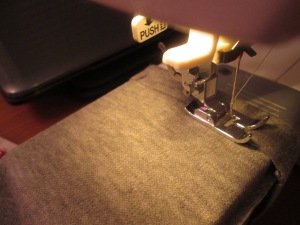
The side seams are the raw edges perpendicular to the fold. Stitch, press, and trim the sides.
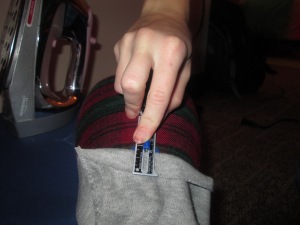
Now it’s time to look at your elastic. What is the width? Mine for this project is 1/2 inch. The width of your casing should be about 1/4 inch wider than your elastic band, so I’m going to do a casing that is 3/4 inches.
At the opening of your bag with wrong side out, measure the width of your elastic casing and press it down all around the bag.
Here is the pressed elastic casing. Remember, at this point your bag should be wrong side out.
Place two marks along the edge of your casing, approximately 2 inches apart. This will be the opening where you insert your elastic.
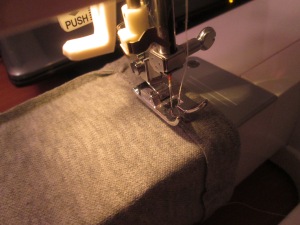
Next, stitch your casing shut starting at one mark all the way around to the second mark, but leaving the 2 inch opening unstitched.
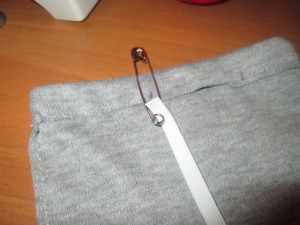
Attach a safety pin to one end of your elastic. Don’t attach it right to the end because it might get pulled off!
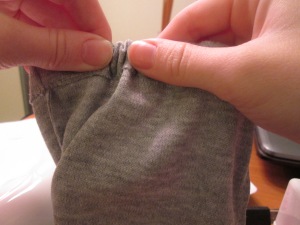
Push the elastic through the casing safety pin first, moving the fabric over the safety pin. Make sure your elastic does not get twisted in this process! When your safety pin has made it all the way around the bag, overlap the ends of your elastic. I’m making my elastic band a little shorter than the circumference of the bag so that the casing will have some bunch to it when finished.
Stitch the ends of your elastic together multiple times, backstitching several times. Trim the excess ends and push the elastic band fully into the casing.
Sew the 2 inch opening shut, with your elastic band fully enclosed in the casing.
And voila! You now have a bag with an elastic opening! This skill will come in handy for many projects, more than just simple bags!
Happy sewing!
Learni.st – Learn how to sew starting from step one
Pinterest & Twitter – Follow for tips, ideas, and more
Etsy – Shop Sew Me Your Stuff


